
laPitop - Part 1
2021-09-27
When I was in college I spent one summer working in a local computer shop. I always liked PCs, ever since my first experiences with a PC (the Tandy 1000 EX), but I've always been a gadget guy at heart, and the PDAs that were becoming popular at the time had my attention. Then I found the HP620lx Palmtop Computer and I had to have it. My boss at the time was able to order one for me, though it wasn't cheap, and I had my first "pocket computer." It was powered by an SH3 processor and ran Windows CE 2.0, which didn't provide for a lot of available software, but I managed to find uses for it, and even bought some accessories for it like a CF card ethernet adapter and a PCMCIA SCSI ZIP Drive, along with a PCMCIA Iomega Clik! drive (if you don't know, google it! It was awesome, but it didn't survive long on the market, sadly).
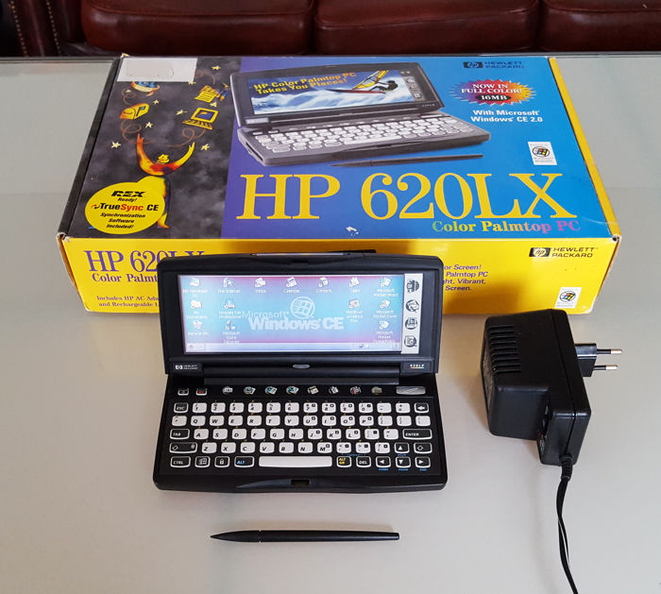
I actually still have it (somewhere, I think), but at this point it's not a useful device. There aren't too many uses for a 33mhz SH3 processor based Windows CE device, especially when things like the Raspberry Pi exist that are a fraction of the size and literally hundreds of times more powerful. The one thing the palmtop had going for it was that it was a complete self-contained system that I could take with me and use anywhere. I've always loved the idea of a complete computer in my pocket that I can just pull out and use. Sure, modern smart phones are pretty much that, but they aren't quite the same for me. I was excited in the late 2000's when sub-notebook computers and mini netbook laptops were appearing on the market, but they too eventually died out in favor of things like full sized Chromebooks. There are still a few very small laptops on the market but they tend to be very expensive and I was never able to justify the money for something I don't really need, I just like the idea of. However, if you're reading this, then you know I'm somewhat creative and, once I got a 3D printer, I realized I could probably just make something along the lines of what I want! So in early 2020, just as the pandemic caused me to start working from home (no complaints here! Who doesn't like working in pajamas with a 3D printer and soldering iron within reach while you work!?) I decided to start actually making a custom mini laptop. I knew it would be Raspberry Pi based, and the newly released Raspberry Pi 4 (with either 4GB or 8GB of RAM) would be an ideal starting point. Beyond that there were several questions to be answered, and I'll try to address as many of them here as possible.
The Screen
Since the goal was to build a mini laptop the device would obviously need a screen. The good news is there are a lot of good, inexpensive options available. The bad news is there are a lot of good, inexpensive options available. You could spend a LOT of time going through the available options on a Amazon or whatever your favorite parts shopping place is. There were several things to consider: size, resolution, touch capability, and interface type. For interface type the options are typically DSI (Display Serial Interface) or HDMI. DSI screens connect to the Raspberry Pi via a small ribbon cable and are (well, were, at least) a little cheaper. HDMI screens connect via a standard HDMI cable (and additionally a micro-USB cable for power/touch capability). Initially I tried a DSI screen, but the one I got was not reliable and had issues with keeping the ribbon cable firmly connected. After trying to resolve the issues with the manufacturer I eventually gave up and returned it and just opted for an HDMI screen. They cost a little more but the HDMI connection is more reliable (in my experience). I opted for a 7 inch 1024x600 display with touch capabilities. The upside over the DSI screen was increased reliability and better resolution in the same size footprint. The downsize was that the HDMI and micro-USB connections stuck out of the side of the screen, meaning it needed some additional space for the connectors and cables.
The Battery
What good is a mini laptop that needs to be plugged into the wall all of the time. It sort of defeats the purpose of a portable computer. Once again the availability of inexpensive options for Raspberry Pi battery solutions is pretty good. The simplest solution is to just go with a LiPo battery plugged into the Raspberry Pi. The problem with that is the mini laptop must always be run from battery power and the battery must be removed to be charged. I wanted things to behave more like a traditional laptop where it can be plugged in (and the battery charges while the plug is in) or run from the battery. My initial thought was to go with the Adafruit Powerboost 1000C, a tiny power supply/LiPo battery charger board. It's tiny (23mm x 45mm x 10mm / 0.9" x 1.8" x 0.4"), and can charge the battery while plugged in. It's also cheap, at just 20 dollars. However I quickly learned that it is not able to handle enough amperage to power a Raspberry Pi 4, especially not while also powering the screen. It technically CAN do it, but the Raspberry Pi constantly threw undervoltage warnings.
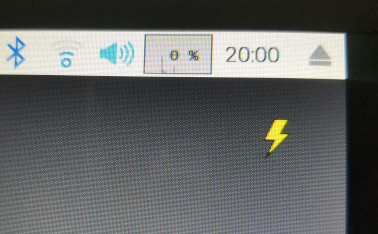
After more research I realized the Powerboost 1000C is ideally meant to output 1 to 2 amps, with the preference being closer to 1. A Raspberry Pi 4 requires 2.5 amps alone, nevermind whatever the screen required. Further searching led me to the MakerFocus BatteryPack UPS (Amazon Link). It's larger than the Powerboost 1000C, sharing the dimensions of the Raspberry Pi (3.35 x 2.17 x 0.79 inches), but it is able to handle 3 amps. It's also pretty inexpensive ($24) and comes with a 4400mAh LiPo battery. It is able to charge the battery while plugged in and supports seamless switching to battery power when the power cable is removed and switching back when the power cable is plugged in. It also is capable of reporting it's status (and the battery status) via a simple serial link. After some testing I decided this would be the power board used for this project. One more component down!
The Keyboard
This is where things get a little tricky. Ideally I'd like a laptop keyboard, or one like it. The problem with that is that I was not able to find one that fit the size requirements for this project. The smallest I was able to find was the MCSaite Super Mini USB keyboard but it was wider than I had prototyped the basic case dimensions, and the thickness of the keyboard was also an issue. As it comes, the Super Mini keyboard is 0.75" thick. I'm sure the necessary guts of the keyboard are thinner, but regardless that is too much height for the design goals of this project.
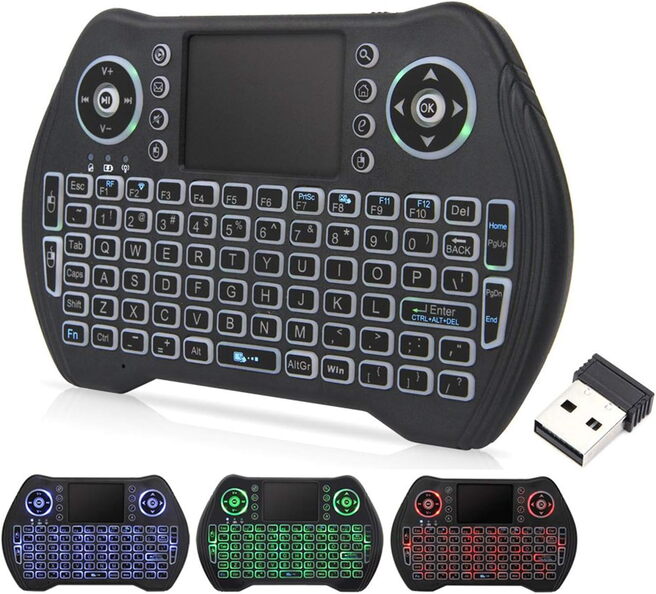
Instead I opted for a small wireless keyboard meant for applications like media centers. It was designed for thumb typing more than regular typing, given the size of the device I was imagining that would probably be ok. It also has a built in touch pad that supports multi-finger taps. An additional bonus is that it appears to the system as a generic USB keyboard/mouse, with no special drivers needed, making compatibility a non-issue. Taken out of the plastic case, the keyboard internals are just a few millimeters tall, making it perfect for this project. I wish it were a little wider, but I'm ok with it. With the way I've designed the project case so far I can always change the keyboard choice later on without needing to rework the entire case, just the thin tray and cover that the keyboard sits in. The keyboard draws power from an included LiPo battery, but can also be powered from the micro USB port used for charging the keyboard. I removed the battery (and may still opt to de-solder the battery connector terminal on the back of the keyboard) and made a small USB to micro USB cable to power the keyboard continually from the MakerFocus BatteryPack UPS that will power the Raspberry Pi and the screen as well. It doesn't draw much power and won't be much of a drain on the battery for the project.
The Name
Of course any good project needs a name. I know it's cheesy, but I like names that are mashups of the names of parts of the project. For example, the retro PC Tower case for a Raspberry Pi that I built: part i486 + part Raspberry Pi = pi486! This time I've got a laptop with a Raspberry Pi at it's heart. Laptop with Pi in the middle = LaPitop! And so the LaPitop project was born! In the next part I'll cover the case design and related issues.